Expert Leak Detection Service in Astoria, Queens: Find Hidden Leaks Before They Cause Costly Damage
Finding a hidden water leak in an Astoria home can feel like searching for a needle in a haystack. Whether you live near Astoria Park, along Ditmars Boulevard, or close to the bustling commercial strips near Steinway Street, property owners across this historic Queens neighborhood face unique plumbing challenges. From aging multi-family brownstones to modern apartment setups, concealed pipe leaks can silently compromise structural integrity, inflate utility bills, and trigger hazardous mold growth. Understanding how professional leak detection works helps homeowners and business owners take swift, decisive action before minor pinhole leaks spiral into major structural emergencies.
What Is Leak Detection?
Leak detection is the specialized process of locating concealed water, gas, or sewer leaks inside walls, beneath concrete slabs, underground, or behind permanent fixtures without resorting to destructive exploratory demolition.
-
Definition: Using advanced diagnostic technology and acoustic equipment to pinpoint the exact source of pipe failures.
-
Common Situations: Unexplained increases in monthly municipal water bills, damp patches on drywall, buckling hardwood floors, or the constant sound of running water when all taps are shut.
-
Symptoms: Warm spots on concrete floors, peeling wallpaper, musty odors, or low water pressure throughout specific zones of a property.
-
Examples: A corroded copper supply line dripping slowly inside a finished Astoria basement ceiling or a cracked underground service line beneath a concrete foundation.
Why Does This Plumbing Problem Happen?
Plumbing leaks rarely happen overnight; they are typically the culmination of material fatigue, environmental stress, or installation flaws.
-
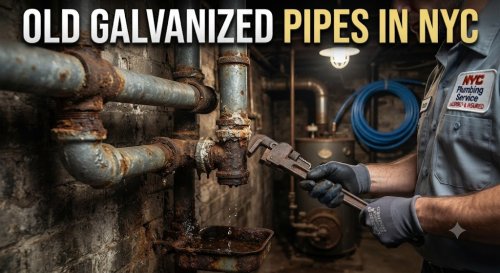
Aging Pipes: Galvanized steel and older copper pipes degrade over decades, developing pinhole leaks due to internal oxidation and mineral wear.
-
Corrosion: Chemical interactions between local water composition and metal pipe walls thin out interior barriers.
-
Tree Roots: Aggressive urban tree roots seek out moisture, infiltrating tiny joints or micro-fissures in underground sewer and water supply lines.
-
Hard Water: Mineral scale accumulation restricts flow, heightening internal pipe pressure and stressing joints.
-
High Water Pressure: Municipal supply pressures exceeding standard residential thresholds stress elbows, valves, and older soldered connections.
-
Improper Installation: Substandard soldering, misaligned threads, or over-tightened fittings create vulnerable stress points.
-
Poor Maintenance: Neglecting minor drips, failing pressure-reducing valves, or uninsulated sections.
-
Seasonal Weather: Rapid freeze-thaw cycles during New York winters expand water inside uninsulated exterior walls, cracking rigid pipes.
-
Frozen Pipes: Complete ice blockages that rupture pipe walls from the inside out.
-
Clogs and Backups: Severe blockages that force wastewater against pipe joints until they leak or burst.
-
Worn Plumbing Fixtures: Deteriorated rubber O-rings, degraded wax rings, and worn-out valve cartridges.
Signs You Should Never Ignore
Recognizing early warning signs prevents minor plumbing faults from turning into catastrophic property damage.
-
Water Stains: Discolored, yellow-brown rings on ceilings or walls indicate slow, persistent overhead or inter-wall leaks.
-
Slow Drains: Partial obstructions or joint failures that impede smooth wastewater flow.
-
Low Water Pressure: Mineral buildup or a compromised pipe diverting water away from fixtures.
-
High Water Bills: Sudden, inexplicable spikes in quarterly or monthly utility statements despite unchanged usage habits.
-
Damp Walls: Wallpaper peeling off gypsum boards or paint bubbling from moisture saturation.
-
Mold Growth: Black or green mold colonies multiplying rapidly in dark, damp crawlspaces or baseboards.
-
Strange Noises: Banging, whistling, or hissing sounds behind walls when water is turned on or off.
-
Bad Stale Smells: Persistent musty, earthy odors originating from stagnant under-floor moisture.
-
Standing Water: Puddles gathering near water heaters, under kitchen sinks, or on basement slabs.
-
Discolored Water: Rusty or brown tap water signaling interior pipe corrosion and structural breakdown.
Common Plumbing Problems Related to This Issue
Concealed leaks rarely occur in total isolation; they trigger or stem from a cascade of interconnected plumbing failures.
-
Pipe Leaks: Localized fractures or pinholes in supply and return lines.
-
Drain Clogs: Accumulated hair, grease, and soap scum trapping water and increasing back-pressure.
-
Sewer Backups: Main drain blockages forcing municipal waste back up through basement floor drains.
-
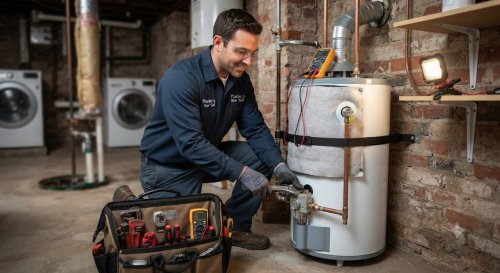
Water Heater Failures: Tank corrosion, rusted base seams, or pressure relief valve discharges.
-
Burst Pipes: Catastrophic splits resulting from unaddressed ice blockages or high pressure surges.
-
Slab Leaks: Sub-foundation water line breaks eroding the very concrete earth supporting a building.
-
Fixture Damage: Ruined cabinetry, warped subflooring, and ruined drywall surrounding leaking faucets or toilets.
Step-by-Step Professional Repair Process
Licensed professionals approach hidden leaks methodically to minimize property disruption and ensure permanent fixes.
-
Step 1 Inspection: Conduct a thorough visual audit of all accessible plumbing infrastructure, meters, and connection points.
-
Step 2 Diagnosis: Isolate specific zones using electronic testing, acoustic listening devices, and thermal imaging cameras.
-
Step 3 Estimate: Provide a transparent, itemized scope of work and pricing breakdown before any physical work begins.
-
Step 4 Repair: Execute targeted repairs, replacing damaged pipe sections, sealing joints, or repiping compromised runs.
-
Step 5 Testing: Re-pressurize the plumbing network and verify zero pressure loss or active leakage.
-
Step 6 Cleanup: Restore work areas, remove debris, and leave the job site clean and orderly.
-
Step 7 Maintenance Advice: Provide customized tips to prevent future leaks and protect plumbing assets.
Can You Fix It Yourself?
While DIY enthusiasm is admirable, major leak detection and structural pipe repair require specialized tools and licensing.
-
Safe DIY Solutions: Shutting off the main water supply valve during an emergency or tightening an accessible, loose slip-joint nut beneath a sink.
-
Temporary Fixes: Applying rubber repair tape or temporary epoxy putty to a minor surface pipe split as an emergency stopgap.
-
What Homeowners Can Safely Do: Monitor water meter dials during non-use periods to detect hidden running water.
-
When DIY Becomes Dangerous: Attempting to cut into pressurized supply lines, opening gas lines, or using open flames (torches) near concealed wooden framing.
-
When Professional Plumbing is Necessary: Any leak hidden behind walls, beneath concrete slabs, underground, or involving main service entry lines.
Tools Professionals Use
Advanced equipment transforms leak detection from guesswork into an exact science.
-
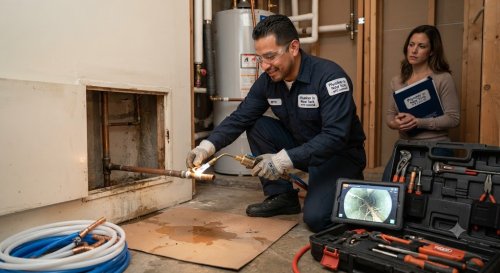
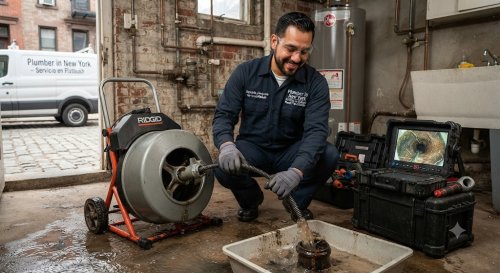
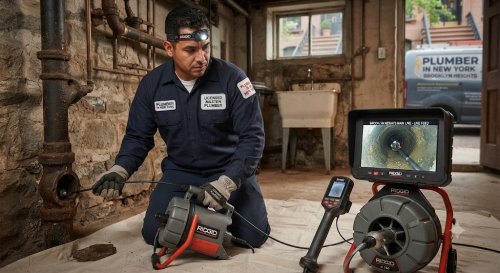
Drain Cameras: High-definition waterproof fiber-optic borescopes navigated through sewer lines to reveal cracks, roots, and breaks.
-
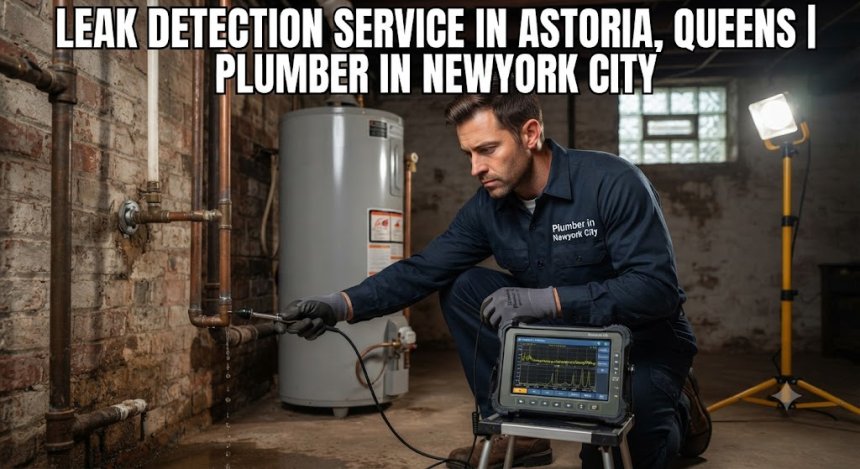
Leak Detection Equipment: Highly sensitive ground microphones and acoustic listening disks that amplify the sound of water escaping pressurized pipes underground.
-
Hydro Jetting: High-pressure water streams that scour grease, scale, and roots completely out of drainage lines.
-
Pipe Locators: Radio-frequency transmitters paired with surface receivers to trace underground pipe routes and depth precisely.
-
Pressure Testing: Gauges used to isolate plumbing zones and measure precise PSI drops, confirming whether a pipe network holds structural integrity.
-
Pipe Inspection Cameras: Visual recording units for documenting internal pipe conditions before and after intervention.
-
Trenchless Equipment: Pipe-bursting and lining systems that rehabilitate underground pipes without excavating entire driveways or yards.
How Long Does the Repair Usually Take?
Repair timelines vary widely based on the complexity and location of the fault.
-
Simple Repairs: Fixing an accessible fixture connection or replacing a worn valve takes 1 to 2 hours.
-
Moderate Repairs: Locating and patching an inter-wall pipe leak requires 3 to 5 hours of targeted opening, patching, and testing.
-
Major Repairs: Sub-slab foundation excavation or extensive repiping projects span 1 to 3 days.
-
Emergency Repairs: Rapid containment and temporary stabilization can be established within 1 to 2 hours of arrival.
-
Factors Affecting Time: Pipe accessibility, depth underground, presence of asbestos or lead materials, and structural obstacles.
Cost Factors
Plumbing repair investments depend heavily on project-specific variables rather than flat-rate assumptions.
-
Diagnostic Fees: Specialized electronic leak location requires technical expertise and advanced gear.
-
Parts: Materials ranging from standard PVC and PEX to heavy-duty copper and brass fittings.
-
Labor: Hours required by licensed technicians to safely access, repair, and test systems.
-
Emergency Service Charges: Premium rates for after-hours, holiday, or immediate dispatch calls.
-
Equipment Needed: Utilization of acoustic locators, thermal imagers, or heavy excavation tools.
-
Permit Costs: Local municipal compliance filings for major plumbing overhauls.
-
Replacement vs Repair: Spot-patching a single pipe length versus replacing an entire compromised vertical stack.
-
Accessibility of Pipes: Open basement ceilings versus tiled bathroom walls buried behind custom cabinetry. Note: Plumbing repair costs vary depending on the severity of the problem, accessibility, materials required, emergency service, property type, and local labor rates.
Hidden Truths Homeowners Should Know
Understanding the realities of residential plumbing protects property value and prevents compounding expenses.
-
Small pinhole leaks left unaddressed quickly escalate into thousands of dollars in structural wood rot and mold remediation.
-
Cheap temporary tape fixes degrade under continuous pressure and will eventually fail catastrophically.
-
Standard homeowner insurance policies frequently deny coverage for water damage caused by long-term, neglected slow plumbing leaks.
-
Tree roots will repeatedly re-invade compromised sewer lines unless mechanical clearing is followed by structural relining or root-barrier applications.
-
Hard water deposits silently shorten the operational lifespan of water heaters, dishwashers, and washing machines.
-
DIY mistakes, such as mismatched pipe metals or incorrect threading compounds, amplify final professional remediation costs.
-
Delaying repairs invites structural settling and compromises load-bearing framing members.
-
Hidden water leaks silently inflate monthly utility bills, wasting hundreds of gallons of treated water.
-
Mold colonies establish and multiply within 24 to 48 hours of constant moisture exposure.
-
Routine annual plumbing maintenance inspections save money over time by catching minor vulnerabilities early.
15 Common Mistakes Homeowners Make
-
Ignoring faint water sounds or minor damp spots until they cause ceiling collapses.
-
Relying heavily on harsh chemical drain cleaners that corrode older metal pipe walls.
-
Flushing non-disposable "flushable" wipes, paper towels, and hygiene products down toilets.
-
Pouring cooking grease, oils, and fats directly down kitchen sink drains.
-
Ignoring gradual drops or fluctuations in household water pressure.
-
Hiring unlicensed, uninsured handymen for complex structural plumbing repairs.
-
Skipping annual professional plumbing maintenance and leak check audits.
-
Waiting until an absolute midnight emergency occurs before identifying the main water shut-off valve.
-
Using incompatible pipe materials (like mixing galvanized steel directly with copper without dielectric unions).
-
Over-tightening threaded plumbing fittings, which cracks PVC adapters and brass elbows.
-
Failing to insulate vulnerable outdoor spigots and unheated garage pipes before freezing weather hits.
-
Neglecting to test sump pump functionality before heavy spring rainstorms.
-
Overlooking slow water heater tank weeping and minor base corrosion.
-
Covering up access panels to main shut-off valves or cleanouts with permanent drywall or built-in shelving.
-
Attempting complex gas-line or main supply modifications without a certified master plumber license.
Maintenance Tips
-
Inspect exposed basement pipes, water heater bases, and under-sink areas monthly for moisture or mineral crusting.
-
Locate and test your main water shut-off valve semi-annually to ensure it turns smoothly in an emergency.
-
Pour a bucket of water into seldom-used basement floor drains every few months to keep sewer gas traps filled.
-
Install stainless steel braided supply lines behind washing machines and dishwashers, replacing them every 5 to 7 years.
-
Flush your water heater tank annually to remove sediment buildup and maintain optimal heating efficiency.
-
Avoid pouring grease, coffee grounds, and fibrous food scraps down kitchen garbage disposals.
-
Use hair catchers in all shower and tub drains to minimize clogs.
-
Test your sump pump by pouring a bucket of water into the basin before heavy storm seasons arrive.
-
Insulate exterior-facing water supply lines in unheated crawlspaces or garages prior to winter freezes.
-
Monitor your water meter dial when all household faucets are closed to catch silent, hidden leaks early.
-
Consider installing an automatic smart water shut-off valve system that detects abnormal flow and halts supply automatically.
-
Check outdoor hose bibs for frost damage and leaks after the winter thaw.
-
Keep cleanout plugs accessible and unobstructed by landscaping or flooring.
-
Schedule a professional camera inspection if you notice slow drainage combined with foul sewer odors.
-
Never ignore a running toilet flapper; replace worn internal tank components promptly to conserve water.
When Should You Call an Emergency Plumber?
-
Burst pipes spraying water uncontrollably across walls or living areas.
-
Severe sewage backups overflowing from basement floor drains into living spaces.
-
Total loss of running water throughout your entire property.
-
An overflowing toilet that refuses to stop running despite closing the local fixture valve.
-
Suspected gas line leaks or strong sulfur smells near gas-fired water heaters.
-
Major hidden leaks soaking structural drywall or causing ceiling plaster to sag.
-
Sudden indoor flooding threatening electrical panels or expensive appliances.
Frequently Asked Questions
Why is my water pressure suddenly low? Sudden pressure drops usually stem from a partially closed main valve, a failing pressure-reducing valve (PRV), a major hidden leak, or heavy municipal line repairs in your area.
How much does leak detection cost? Costs vary depending on whether electronic acoustic location, thermal imaging, or line camera tracing is required to find the hidden fault.
Can a clogged drain damage pipes? Yes. Persistent clogs generate high back-pressure and standing stagnant water that accelerates pipe corrosion and joint failure.
Is hydro jetting safe for old pipes? An experienced professional must inspect older pipes first via camera to ensure structural integrity before utilizing high-pressure hydro jetting.
How do I know if my sewer line is broken? Frequent backups across multiple plumbing fixtures, foul odors on your property, and soggy patches in your yard indicate a damaged sewer line.
How long do water heaters last? Standard tank water heaters typically last between 8 to 12 years, depending on water hardness and routine maintenance.
Why does my faucet drip? Dripping faucets are usually caused by worn-out internal rubber washers, degraded O-rings, or damaged valve seats.
What causes pipes to burst? Pipes burst primarily due to water freezing inside uninsulated walls or from extreme internal pressure spikes caused by clogs or failing PRVs.
Can plumbing leaks increase my water bill? Yes. Even a small hidden pinhole leak can waste thousands of gallons of water per month, drastically inflating your utility bills.
When should I replace plumbing instead of repairing it? If your property features decades-old galvanized pipes experiencing recurring leaks, repiping the system is far more cost-effective than constant spot repairs.
Why Choose Our Plumbing Company
-
Experienced Licensed Plumbers: Fully certified professionals equipped to handle complex residential and commercial plumbing challenges.
-
Honest Recommendations: Straightforward, transparent advice focused on long-term solutions rather than temporary band-aids.
-
Upfront Estimates: Clear pricing structures with no hidden fees or unexpected surprises before work begins.
-
Fast Response: Prompt dispatching to minimize water damage and restore your plumbing system quickly.
-
Emergency Availability: Dedicated support for urgent plumbing crises when you need help the most.
-
Quality Workmanship: Precision repairs executed to the highest industry standards.
-
Modern Equipment: Utilizing advanced acoustic, thermal, and camera diagnostic technology for accuracy.
-
Customer Satisfaction: A proud track record of reliable service across the local community.
-
Local Expertise: Deep familiarity with regional plumbing layouts, codes, and weather-related challenges.